Create cases automatically
NVivo provides a number of quick ways to create cases—for example, you can:
- Create cases from selected files—this is most useful when the entire file represents a single case (unit of analysis). When you create cases from your files the entire content of the file is coded.
- Create cases based on the speaker names in a document.
- Import a spreadsheet (called a 'classification sheet' in NVivo) containing respondent names and demographic variables.
- Import a survey or social media
The approach you take depends on the type of data you are working with.
Set up cases from interviews
If you have interview transcripts saved separately as files in NVivo (one file per participant), you can follow these steps to set up cases with classification values:
|
Goal |
Steps to get there... |
|---|---|
|
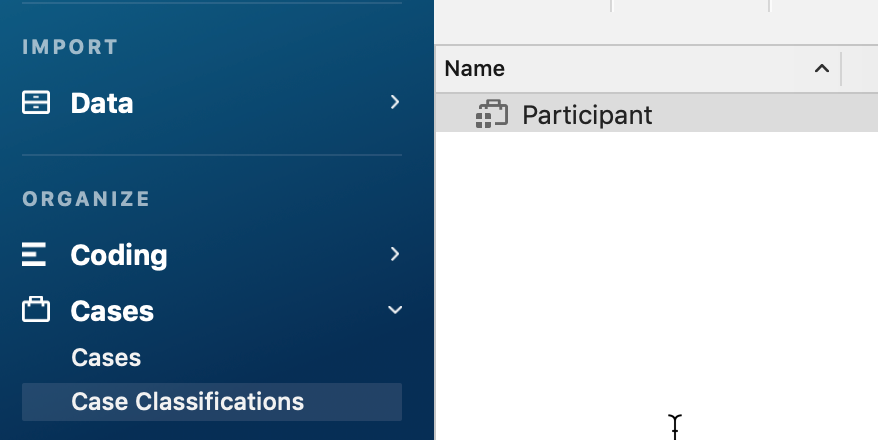
Add case classifications to the project, to apply to cases when they are added:
|
|
|
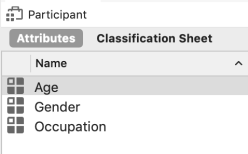
Add attributes to the classification:
|
|
|
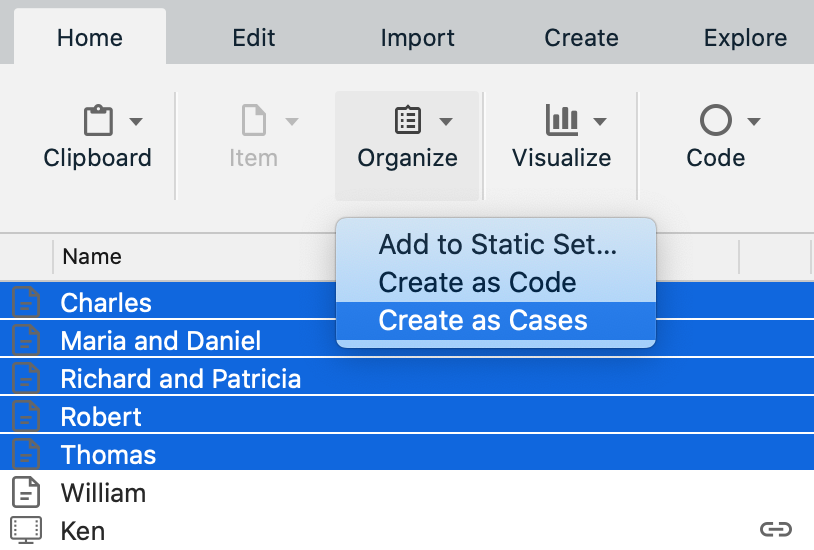
Create cases from interview files:
|
Now, you have a case (with classification) for each participant and the content of each interview has been coded to its case. |
|
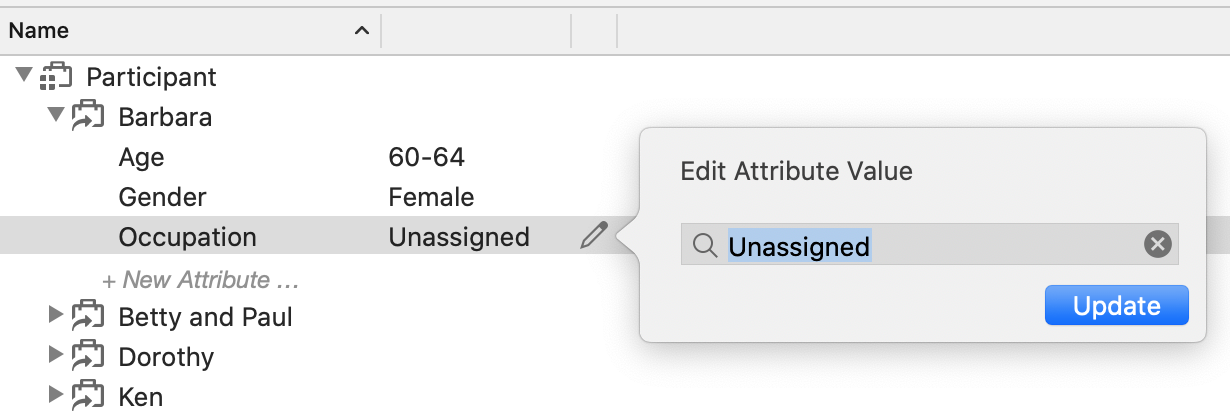
Set the attribute values for each case:
|
|

Set up cases for focus groups
If you have focus group transcripts saved as documents in NVivo, you can follow these steps to set up cases with classifications:
|
Goal |
Steps to get there... |
|---|---|
|
Add case classifications to the project, to apply to cases when they are added:
|
|
|
Add attributes to the new classification:
|
|
|
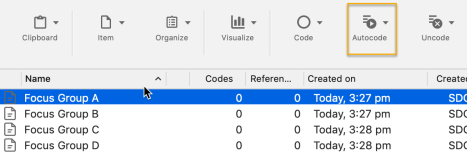
Autocode the files by speaker
|
Click on Cases in Navigation view to see the new cases. |
|
Set the attribute values for each case:
|
|


NOTE
When autocoding by speaker, follow these guidelines for formatting the transcript:
- The speaker name must appear at the start of a line. It cannot be proceeded by any characters—including tabs and spaces.
- The speaker name can appear on the same line with the response or on a separate line above the response—as long as it is at the start of a line.
- The transcript can be formatted as a table with the speaker name in the left column and the response in the right.
- Each speaker must be identified by a unique name. NVivo creates a case for each unique speaker name and codes all content by that speaker at the case.
Create cases from a survey dataset
If you are working with a dataset containing survey responses, you can use the Autocode Dataset Assistant to create, classify and code to a case for each respondent. This will add the demographic information—for example, Age and Gender—from the classifying columns. Autocode Datasets
Create cases from a social media dataset
If you are working with
When you autocode by Username, the cases are assigned to the classification 'Facebook User', 'Twitter User' , and profile information about the user is stored as attribute values on the cases.
- In List View, select the social media dataset and then on the Home tab, click Autocode.
- Follow the steps to:
-
- Code to cases for each value in a column.
- Choose the column that contains the Username.
- Choose the content you want to code to the case. For example, Post and Comment Text or Tweet.
- Choose a location for the new cases.
Create cases by importing a classification sheet
You can import files containing NVivo classification sheet data that was created outside NVivo—for example, data that was gathered in a Microsoft Excel spreadsheet (you must save it to a text file before importing it into NVivo). Classification sheets