NVivo Transcription
NVivo Transcription is an automated, cloud-based transcription service integrated into NVivo. It allows you to send media files for transcription directly from NVivo, returning the transcripts embedded with the media files they were created from Audio and video.
NVivo Transcription is a paid service with annual subscription or pay-as-you-go options (see Lumivero website or Transcription online Help for more information). (If you have bought or been assigned a license to Transcription you can also transcribe files using the Transcription website.)
When you open the NVivo Transcription module in NVivo you automatically log into Transcription with the same myLumivero customer account you are currently logged into NVivo with (see myLumivero—if you are not already logged into a myLumivero account you are prompted to do so). Ensure that the account you use has a valid Transcription subscription or credits.
For more information, see Different ways to use transcription.
Use NVivo Transcription to transcribe media files from NVivo
-
Open the project containing the audio or video files you want to transcribe. On the Modules tab click Transcription.
You are logged into Transcription with the same myLumivero account you are logged into NVivo with (shown in the
 ). If you are not logged into NVivo you will be prompted to log in. (If you have multiple accounts, select one with a valid Transcription subscription or credits.)
 -
In the Transcription
NOTE You can populate the Transcription
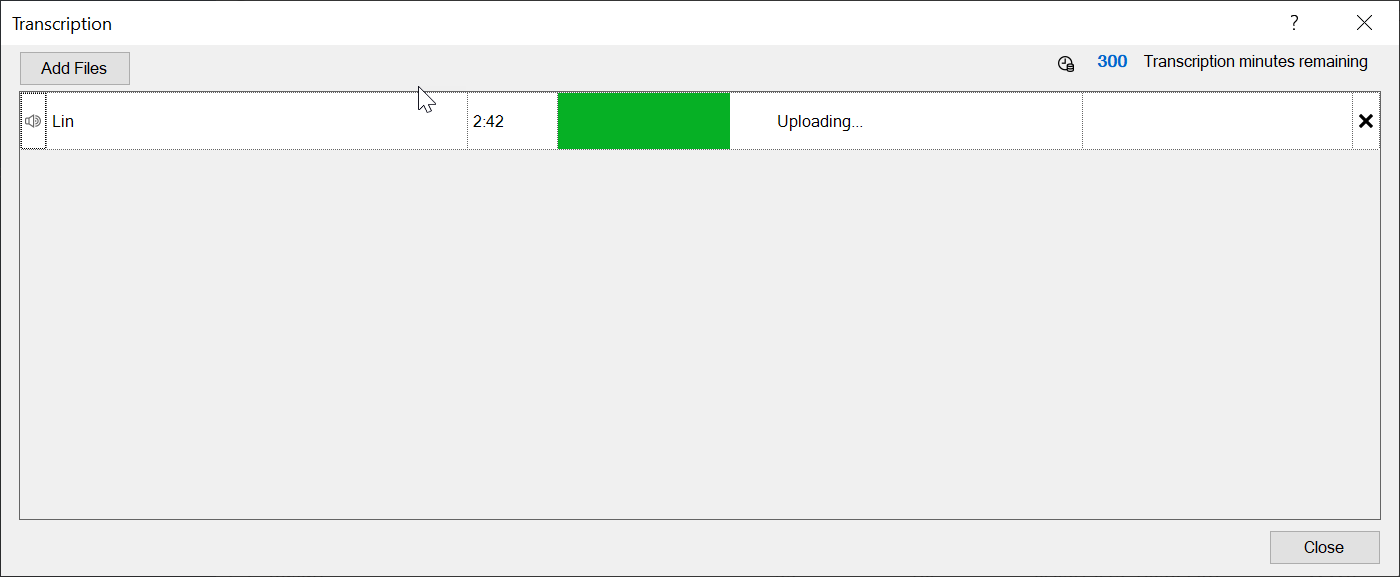
The duration of each file is displayed. If you have pay-as-you-go credits, the number of minutes' transcription time available is shown at the top of the
-
When the files have uploaded select the language being spoken in each, then click Transcribe.
-
When transcription is finished click Review transcript to open the transcript in the web editor (the first time you do this you may need to log into your myLumivero account again).
-
Edit the transcript using the web editor, making corrections as necessary and optionally adding speaker names.

(See directions for the editor in the Transcription Help, here.)
-
Return to the NVivo Transcription

The transcript is imported and embedded as the transcript of the media file you uploaded.
-
Open the media file in NVivo to see the transcript.
-
If necessary you can edit further in NVivo Audio and video transcripts.