Manage classifications
As a project progresses you may need to add classifications or adjust existing ones, for example by adding, editing or removing attributes.
Change classification or attribute properties
Change the name or description of a classification
- Select File or Case Classifications in the Navigation View, then select the classification you want to update in the List View.
- On the Home tab, click Item > Get Info.
Change the name, description or data type of an attribute
- Select File or Case Classifications in the Navigation View then double-click the relevant classification in the List View to open it in the Detail View. Make sure you have Attributes selected at the top of the Detail View.
- Select the attribute you want to edit and in the context menu select Get Info.
- Edit the name and/or description, and/or change the attribute type.
NOTE: Attribute values not compatible with the new data type are deleted.
Delete classifications or attributes
You can delete classifications and attributes using the Delete command in the context menu when the items are selected. Be aware that attribute values given to files or cases with the classifications or attributes will be lost from the project.
Add attributes
- Select File or Case Classifications in the Navigation View, then select the classification to add the attribute to in the List View.
- On the Home tab, click Case Classification or File Classification as appropriate, then New Attribute.
- Enter an attribute name and optionally a description.
- In the Type dropdown, select the data type for the attribute values:
- Text allows attribute values using any text characters or numerals
- Integer and Decimal allow only numerals, either whole numbers or decimals
- Date, Date/Time and Time use date and time formats as configured in your computer's operating system
- Boolean allows just Yes or No values (or alternative terms—see Labels in the application options)
- Optionally add attribute values (besides the default values Unassigned and Not Applicable). Note: you can add values at any time, later, as you work.
- In the Attribute Values section, click the plus sign and type in a value.
- Optionally add a description and assign a color for the value.
- Click the triangle arrows in the bottom right of the list to change the order of selected values.
- Select one value as Default to set it as the default for new cases or files given the classification. Otherwise the value defaults to Unassigned.
Copy attributes
You can copy attributes in one classification to add to another.
Once an attribute is copied to another classification it is a distinct, new attribute, even though it has the same name and properties as the attribute it was copied from—any changes you make to either attribute will not affect the other one.
- Select the relevant classification folder in the Navigation View then, in the List View, double-click the classifications you want to copy from and to, to open them both in the Detail View (if necessary, click Attributes at the top of the Detail View to see the attributes list).
- In the Detail View, select the attributes to copy and copy—Home tab, Clipboard > Copy.
- In the Detail View, select the classification you want to copy into and paste—Home tab, Clipboard > Paste.
NOTE Copying an attribute includes all its configuration settings and values.
Copy classifications
You can copy classifications, including all their attributes and values. This can be useful when creating new classifications that share attributes with existing ones—for example, the attributes age, sex and date of birth might be included in a number of case classifications.
- Files or cases assigned to the original classifications are not assigned to the copies—they have no files/cases assigned to them after they are created.
- Classifications can only be copied into the same folder—i.e. you cannot copy a case classification into the file classification folder (and you cannot create subfolders for classifications).
- Select File or Case Classifications in the Navigation View to open it in the List View.
- Select the classification/s to copy, then on the Home tab, click Clipboard > Copy.
- Click in an empty area of the List View then click Clipboard > Paste.
Merge classifications
You can merge classifications into existing or new classifications.
- Select File or Case Classifications in the Navigation View to open it in the List View.
- Select one or more classifications to merge into an existing classification, or two or more to merge into a new classification.
- Copy the classifications—Home tab, Clipboard > Copy.
- Select a target classification to merge into, or click in an empty area of the List View to merge the cut classifications into a new classification.
- On the Home tab, click Clipboard > Merge Into Selected Classification or Merge Into New Classification.
- Select merge options:
- include attributes: when merging into an existing classification, include attributes that do not already exist in the target classification.
- include attribute values: when merging into an existing classification, if there are duplicate attributes (same name and data type), include values that do not already exist in the target classification.
- include classified items: reassign files or cases assigned to the original classifications to the new (or target) classification.
- If creating a new classification, it is added with name Untitled—select and on the Home tab, click Item > Get Info to name.
View the files or cases in a classification
To see all the files or cases assigned to a classification:
- In the Navigation View, click File or Case Classifications.
- In the List View, expand a classification to see the files or cases assigned to it.
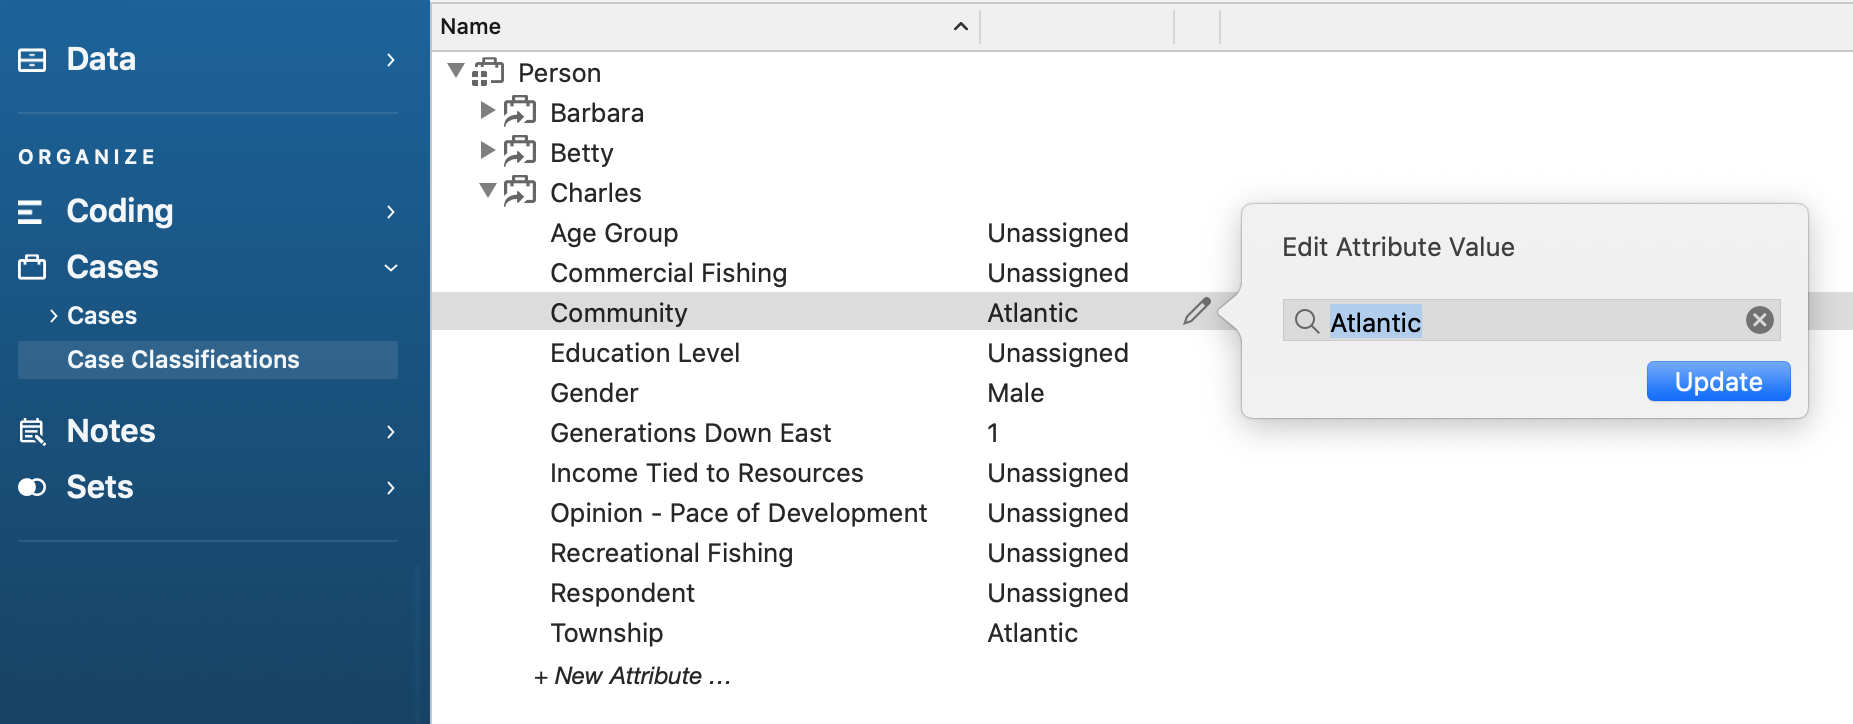
- Expand a file/case to see its attribute values. To change a value,
NOTE
- You can create a new case that is automatically assigned to a selected case classification—select the classification in the